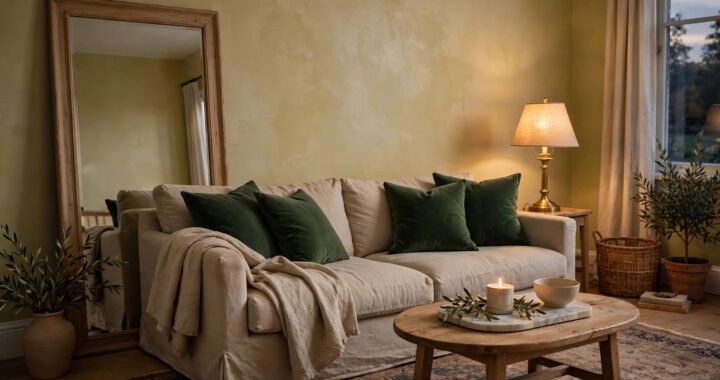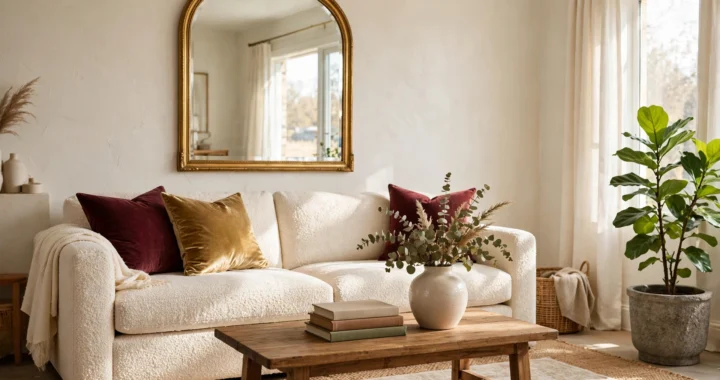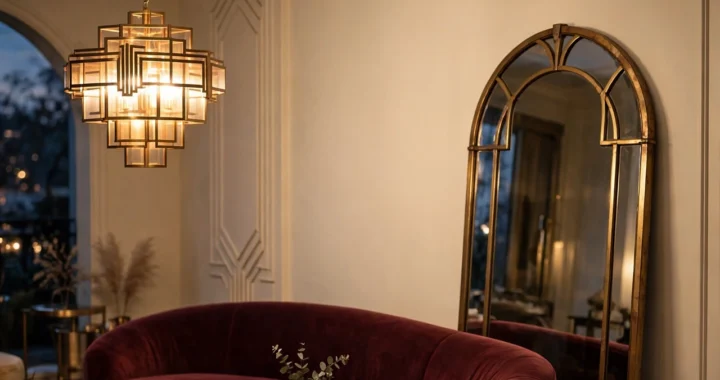
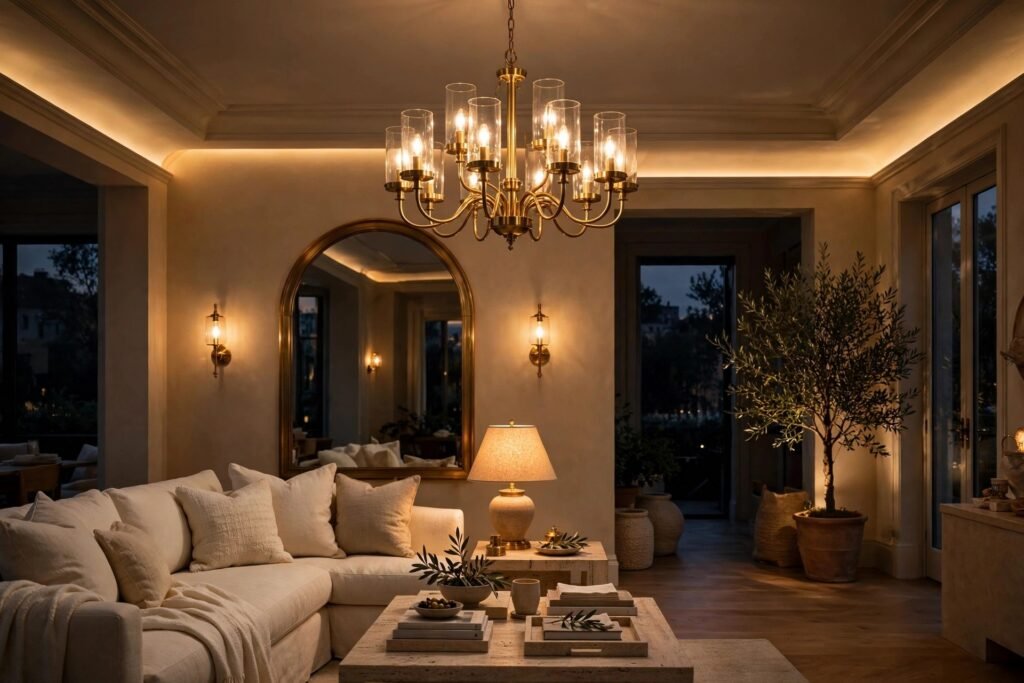
Introduction
Walk into two rooms with identical furniture — one lit by a single ceiling fixture, the other by five soft sources at different heights — and the second room will read as twice as expensive. Every time. Light is the cheapest luxury in interior design and the most skipped: people will spend $8,000 on a sofa and light the room with the builder-grade fixture that came with the house.
Luxury lighting is never one light. It’s layers — typically three to five sources per room, at three different heights, all dimmable, all warm. The 2700K warm glow you’ll see referenced through this guide isn’t a trend; it’s the color temperature of late-afternoon sun and candlelight, the light human eyes are wired to relax under. Get the layers right and a modest room feels like a boutique hotel. Get them wrong and even marble and brass look flat.
Below are the ten moves designers use to build that glow — with the sizing rules, placement measurements, and real costs most guides leave out.
The 3 Layers Every Room Needs
Before the ten ideas, the framework. Every luxurious room has:
- Ambient — the general wash of light (chandelier, cove, recessed).
- Task — light where work happens (reading lamp, picture light, vanity).
- Accent — the drama layer (sconces, backlit art, candles).
The rule designers actually follow: no single layer should do all the work, and at least two layers should be on dimmers. A room with only ambient light feels like an office; a room with only accent light feels like a cave. The magic is the mix — and every source in this guide sits at 2700K unless stated otherwise.
1. Size Your Chandelier Like a Designer
The number-one chandelier mistake is buying too small. The classic designer formula: add the room’s length and width in feet — that number in inches is your ideal chandelier diameter. A 14×18 ft living room wants roughly a 32-inch fixture. For dining tables, the chandelier should span one-half to two-thirds of the table’s length — a 72-inch table wants a 36–48 inch fixture or a linear suspension of similar width.
Hang it right: 30–34 inches above a dining table surface, and in a living room with 8–9 ft ceilings, the bottom of the fixture should clear 7 ft from the floor so sightlines stay open. With 10+ ft ceilings, add roughly 3 inches of drop per extra foot of ceiling height.
Budget honestly: a genuinely sculptural chandelier starts around $800–$1,500 for quality reproductions and runs $3,000–$12,000+ for designer pieces (think Bocci, Lindsey Adelman, Apparatus). Common mistake: a sparkling crystal fixture in a room with no other warm sources — it reads as jewelry store, not home. A chandelier is the ambient anchor; it still needs sconces and lamps around it.
2. Flank with Sconces, Not Just Walls
Sconces are the accent layer that makes a room feel considered. The placement rules: flank fireplaces, art, and beds in pairs, mounted with the center of the shade at 60–66 inches from the floor — roughly eye level, so the light washes the wall instead of glaring into eyes. Space pairs 6–8 ft apart; closer than that and the pools of light overlap into one blob, farther and the wall goes dark between them.
Choose shaded sconces (fabric or alabaster) for living rooms and bedrooms — they throw a soft up-down wash. Choose directional picture-style sconces for hallways and art walls. Budget $150–$600 per sconce for quality fixtures, plus $200–$400 each for hardwired installation if there’s no existing box. Plug-in sconces with cord covers are the renter-friendly cheat and cost nothing to install.
Designer tip: put sconces on a separate dimmer from the chandelier. Evening mode = chandelier off, sconces at 30%. That single move is what makes a room feel like a restaurant at night.
3. Wash Your Art with Picture Lights
Nothing cheapens expensive art faster than lighting it badly — or not at all. A picture light should be half to two-thirds the width of the frame, mounted 6–9 inches above it, angled at roughly 30 degrees to the artwork. That angle lights the piece without bouncing glare off the glass.
Hardwired picture lights ($200–$800 plus install) are the clean look; battery-operated LED art lights ($60–$150, remote-controlled, 2700K) are the no-electrician option and last months per charge. Either way, keep them at 2700K — cooler light shifts paint colors and makes oils look dead.
Common mistake: one picture light over a gallery wall. A gallery wants one adjustable recessed spot per frame (or per pair of small frames), not a single bar trying to cover six feet of art.
4. Hide LED Cove Lighting
Cove lighting — LED strips tucked behind crown molding, under floating shelves, or above wardrobes — is the most luxurious light per dollar in this entire guide. It produces no visible fixture, just a soft upward wash that makes ceilings float and rooms feel taller.
The specs that matter: 2700K, CRI 90+ (color rendering index — below 90, wood and fabric look muddy), and a proper aluminum channel with diffuser so you see a continuous line, not individual dots. Density of 60+ LEDs per meter avoids the dotted look. Budget $15–$40 per linear foot installed, including driver and dimmer.
Where it pays off most: behind the TV wall panel, under floating vanities, along the top of kitchen wall cabinets, and behind a bed’s headboard wall. One warning: cove lighting on a non-dimmable driver is a mistake you’ll regret at 11 PM — always spec a dimmable driver and a compatible dimmer switch.
5. Pair Your Table Lamps — Always
Table lamps are the task-and-accent workhorses, and the rule is simple: they travel in pairs. One lamp on a console looks like you ran out of money; two flanking lamps look intentional. The sizing rule: the lamp’s total height should be roughly one-third the height of the furniture it sits on plus the surface — on a 30-inch console, aim for a 28–32 inch lamp so the shade sits at eye level when you’re seated nearby.
Shade shape matters more than base shape: drum shades throw light up and down (best for ambient), empire shades push light downward (best beside a reading chair). Budget $120–$500 per lamp for quality; buy the pair together so the shades match exactly — “close enough” shades are visibly wrong.
Place them where you’ll actually use them: both ends of a sofa console, flanking a bed (instead of a single overhead), or at the ends of a long sideboard. And put the pair on one smart plug or one switched outlet so a single tap turns both on.
6. Add One Sculptural Floor Lamp
Every luxury living room needs a single sculptural floor element — an arc lamp over a reading chair, a tripod lamp in a dead corner, a paper lantern that glows like the moon. This is the piece guests photograph.
The practical rules: an arc lamp’s shade should hang 60–72 inches off the floor and extend so the light falls over the chair, not behind it. A tripod or torchiere in a corner should reach 60–66 inches — tall enough to clear sightlines, short enough to feel human-scale. Budget $200–$900; the Arco-style arc and Noguchi-style paper lanterns dominate the luxury look for a reason.
Common mistake: the floor lamp as the room’s only light source. A sculptural lamp is an accent — it needs the chandelier or cove behind it doing the ambient work, or the room reads as a dormitory with one nice object.
7. Dim Everything (Yes, Everything)
If you take one action from this guide, make it this: put every light in the main living areas on a dimmer. Full brightness is for cleaning and finding lost earrings; lived-in luxury happens at 20–40%.
The technical bit, kept short: LEDs need LED-compatible dimmers (old incandescent dimmers cause flicker and buzz). If your LEDs flicker at low levels, the dimmer is almost always the culprit, not the bulb — swap it for a Lutron or Leviton LED-rated dimmer ($25–$60 per switch, 15 minutes to install). Smart dimmers ($50–$80) add scenes: “Evening” (sconces 30%, cove 50%, chandelier off), “Entertaining” (everything 70%), “Night” (one hallway sconce at 10%).
Cost of dimming a whole living room: $150–$400 in switches. Impact: larger than any single fixture purchase. This is the highest-ROI move in lighting design, full stop.
8. Commit to 2700K Everywhere
Color temperature is measured in Kelvin: lower = warmer. 2700K is candlelight-warm; 3000K is neutral-warm; 4000K is office; 5000K+ is hospital. Luxury homes live at 2700K in living areas and bedrooms, with 3000K acceptable in kitchens and bathrooms where task clarity matters.
The mistake that ruins more rooms than any other: mixing temperatures. A 2700K chandelier next to 4000K recessed cans makes the warm light look yellow and dirty by comparison. Walk through your home with your phone camera — mixed temperatures show up instantly as some lights looking blue-white and others orange. Replace the outliers; a 6-pack of 2700K dimmable LED bulbs costs $15–$30 and takes ten minutes.
One exception: art and closets can go to 3000K for truer color rendering. Everywhere you relax stays at 2700K. And check the CRI — 90+ everywhere, or your $5,000 rug will look like a $500 one.
9. Backlight the Quiet Moments
Backlighting — LEDs behind a TV panel, under a floating vanity, behind a headboard, inside glass-front cabinets — is accent lighting at its most subtle. It creates depth: objects lift off walls, rooms gain a second plane of light, and screens cause less eye strain with a soft halo behind them.
The numbers: for TV backlighting, a 2700K strip at 10–15% brightness is the sweet spot — enough to ease contrast, not enough to wash out the screen. Inside glass cabinets, puck lights or slim strips at 2700K turn everyday glassware into a display; budget $40–$120 per cabinet. Behind a floating bed or headboard wall, a hidden strip makes the bed appear to levitate — the single most-photographed bedroom detail on Pinterest for three years running.
Keep backlighting separate from the main dimmer so it can stay on as a night layer while everything else goes dark. A hallway that glows softly at 2 AM feels like a hotel; a hallway that’s pitch black feels like a cave.
10. Finish with Real Candlelight
After all the engineering, the final layer is the oldest one: flame. No LED, however warm, reproduces the flicker and movement of real candlelight — and the luxury signal of a room with lit candles is instant and primal.
Do it properly: unscented pillars and tapers in the living and dining rooms (scented candles belong in bathrooms, never where food is served — scent competes with the meal). Group in odd numbers at varying heights — 3, 5, or 7 candles beat a lonely pair. Use real wax with proper wicks, not LED imitations, in the rooms guests see; save the LED candles for windowsills and high shelves where flame is impractical.
Budget is almost nothing — $30–$80 stocks a room — but the rule is maintenance: trim wicks to a quarter inch, and never let a pillar burn into a crater. A neglected candle reads as clutter; a maintained one reads as ritual.
FAQ
How many light sources does a living room need?
Five is the designer minimum for a standard living room: one ambient (chandelier or cove), two task (table lamps or reading lamp), and two accent (sconces, picture light, or candles). Small rooms can do four; large open plans need seven or more, zoned by seating area.
Is 2700K or 3000K better for a luxury home?
2700K for every room you relax in — living room, bedroom, dining room. 3000K is fine for kitchens, bathrooms, and closets where you want slightly truer color. Never mix them in the same sightline.
What’s the biggest lighting mistake in luxury homes?
One bright overhead light doing all the work — usually a recessed-can grid with no dimmer. It flattens every material in the room and makes faces look tired. The fix is layers plus dimmers, not more watts.
How much should I budget for lighting a living room properly?
A realistic designer-grade budget: $1,500–$4,000 total — chandelier ($800–$1,500), two sconces ($300–$600 + install), a pair of table lamps ($240–$600), cove LED ($200–$500), dimmers ($150–$400), and bulbs. Spend the dimmer money first; it’s the highest-impact line item.
Final Thoughts
Luxury lighting isn’t about expensive fixtures — it’s about enough sources, at the right heights, all warm, all dimmable. Start with the dimmers and the 2700K bulb swap (under $200, one afternoon), then add layers one at a time: sconces this month, cove lighting the next. Each layer compounds the last.
The test is simple: at 9 PM, with every light at 30%, does the room feel like somewhere you’d pay to sit? When the answer is yes, the lighting is done.
Explore more: 25 Luxury Living Room Ideas for a Sophisticated Home · 15 Luxury Bedroom Ideas with Warm Modernism Tones